


How to Create a Pattern in Just a Few Clicks with Macrofunctions: Step-by-Step Guide
If you’re wondering how to create a pattern quickly and accurately, you’re in the right place. With the help of integrated macrofunctions in modern CAD software, it’s now possible to generate a digital pattern in just a few clicks—saving time, avoiding mistakes, and increasing productivity.
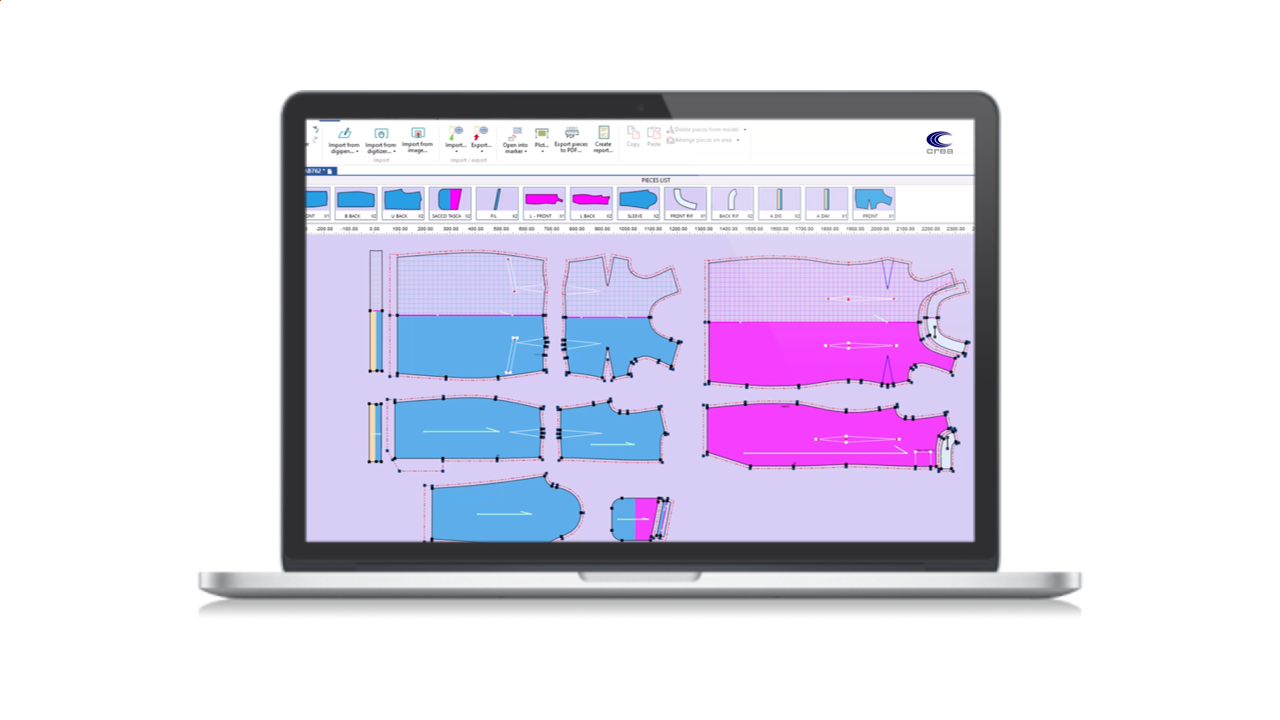
What Is a Digital Pattern?
A digital pattern is a technical drawing that represents the different parts of a garment: bodices, sleeves, pants, skirts, collars, and other components. It’s essential because it guides the fabric cutting process and garment assembly, both in industrial production and made-to-measure (MTM).
Thanks to CAD software and macrofunctions, learning how to create a digital pattern has become simple and intuitive. You can design patterns from scratch or modify existing ones with maximum precision.
Why Create a Digital Pattern Using CAD?
Understanding how to create a pattern with CAD software offers numerous advantages:
Here’s how it works:
• Speed: Go from hours of manual work to just a few minutes.
• Millimeter precision: Perfect measurements every time.
• Customization: Adapt patterns to fit each client’s needs.
• Fewer mistakes: Reduce fabric waste and faulty prototypes.
• Versatility: Ideal for industrial production, made-to-measure (MTM), and rapid prototyping.
Step-by-Step Guide to Creating Your Pattern
-
Open the CAD Software
- Launch your CAD software.
- Create a new project or open an existing file.
-
Access the Macrofunctions
- Look for a section called “Macro,” “Script,” or “Advanced Functions.”
Select the type of garment you want to create:
✔️ Basic women’s bodice
✔️ Basic skirt
✔️ Men’s and women’s pants
✔️ Outerwear
✔️ Any custom parametric model
-
Enter the Measurements
Decide how you want to create a custom-fit pattern: you can either load a standard size chart (e.g., size 4 to size 16) or enter personalized measurements for made-to-measure (MTM) garments.
-
Run the Macro
Once you’ve entered the parameters, click the “Generate” or “Execute” button.
The software will automatically draw:
✔️ The base guidelines (waistline, hip, chest)
✔️ Darts and pleats where needed
✔️ Bezier curves to connect key points
✔️ Seam allowances (if pre-set)
In just seconds, your base pattern is ready.
-
Customize the Pattern with a Few More Clicks
Thanks to transformation macros, you can:
• Change the neckline style (V-neck, boat neck, round neck)
• Add or remove sleeves
• Create slits, gathers, and draping
• Automatically rotate darts
All with quick clicks—no need to redraw from scratch!
-
Automatic Grading
Once your prototype is complete:
• Activate the automatic grading function
• The system will develop the entire size range proportionally
In less than a minute, all sizes are ready.
-
Export or Send to Production
- You can print the pattern on paper using a plotter
• Or send it directly to the automatic cutting system
• Export in standard formats: DXF
CLICK HERE to contact us for a free demo and see for yourself how to create your pattern in just a few clicks!
The Benefits of Creating Patterns in Just a Few Clicks
Learning how to create a digital pattern allows you to:
✔️ Save time
✔️ Avoid manual errors
✔️ Customize every project
✔️ Reduce fabric waste
✔️ Improve productivity in your company or atelier
Creating a pattern in just a few clicks isn’t just possible it’s already the present for many fashion companies and digitalized ateliers.
Whether you want to optimize production or offer fast and precise made-to-measure services, CAD macrofunctions allow you to stand out.
Want to speed up your pattern-making process and reduce errors? CLICK HERE to get in touch now and discover how to create the perfect digital pattern for your collection or made-to-measure service!


